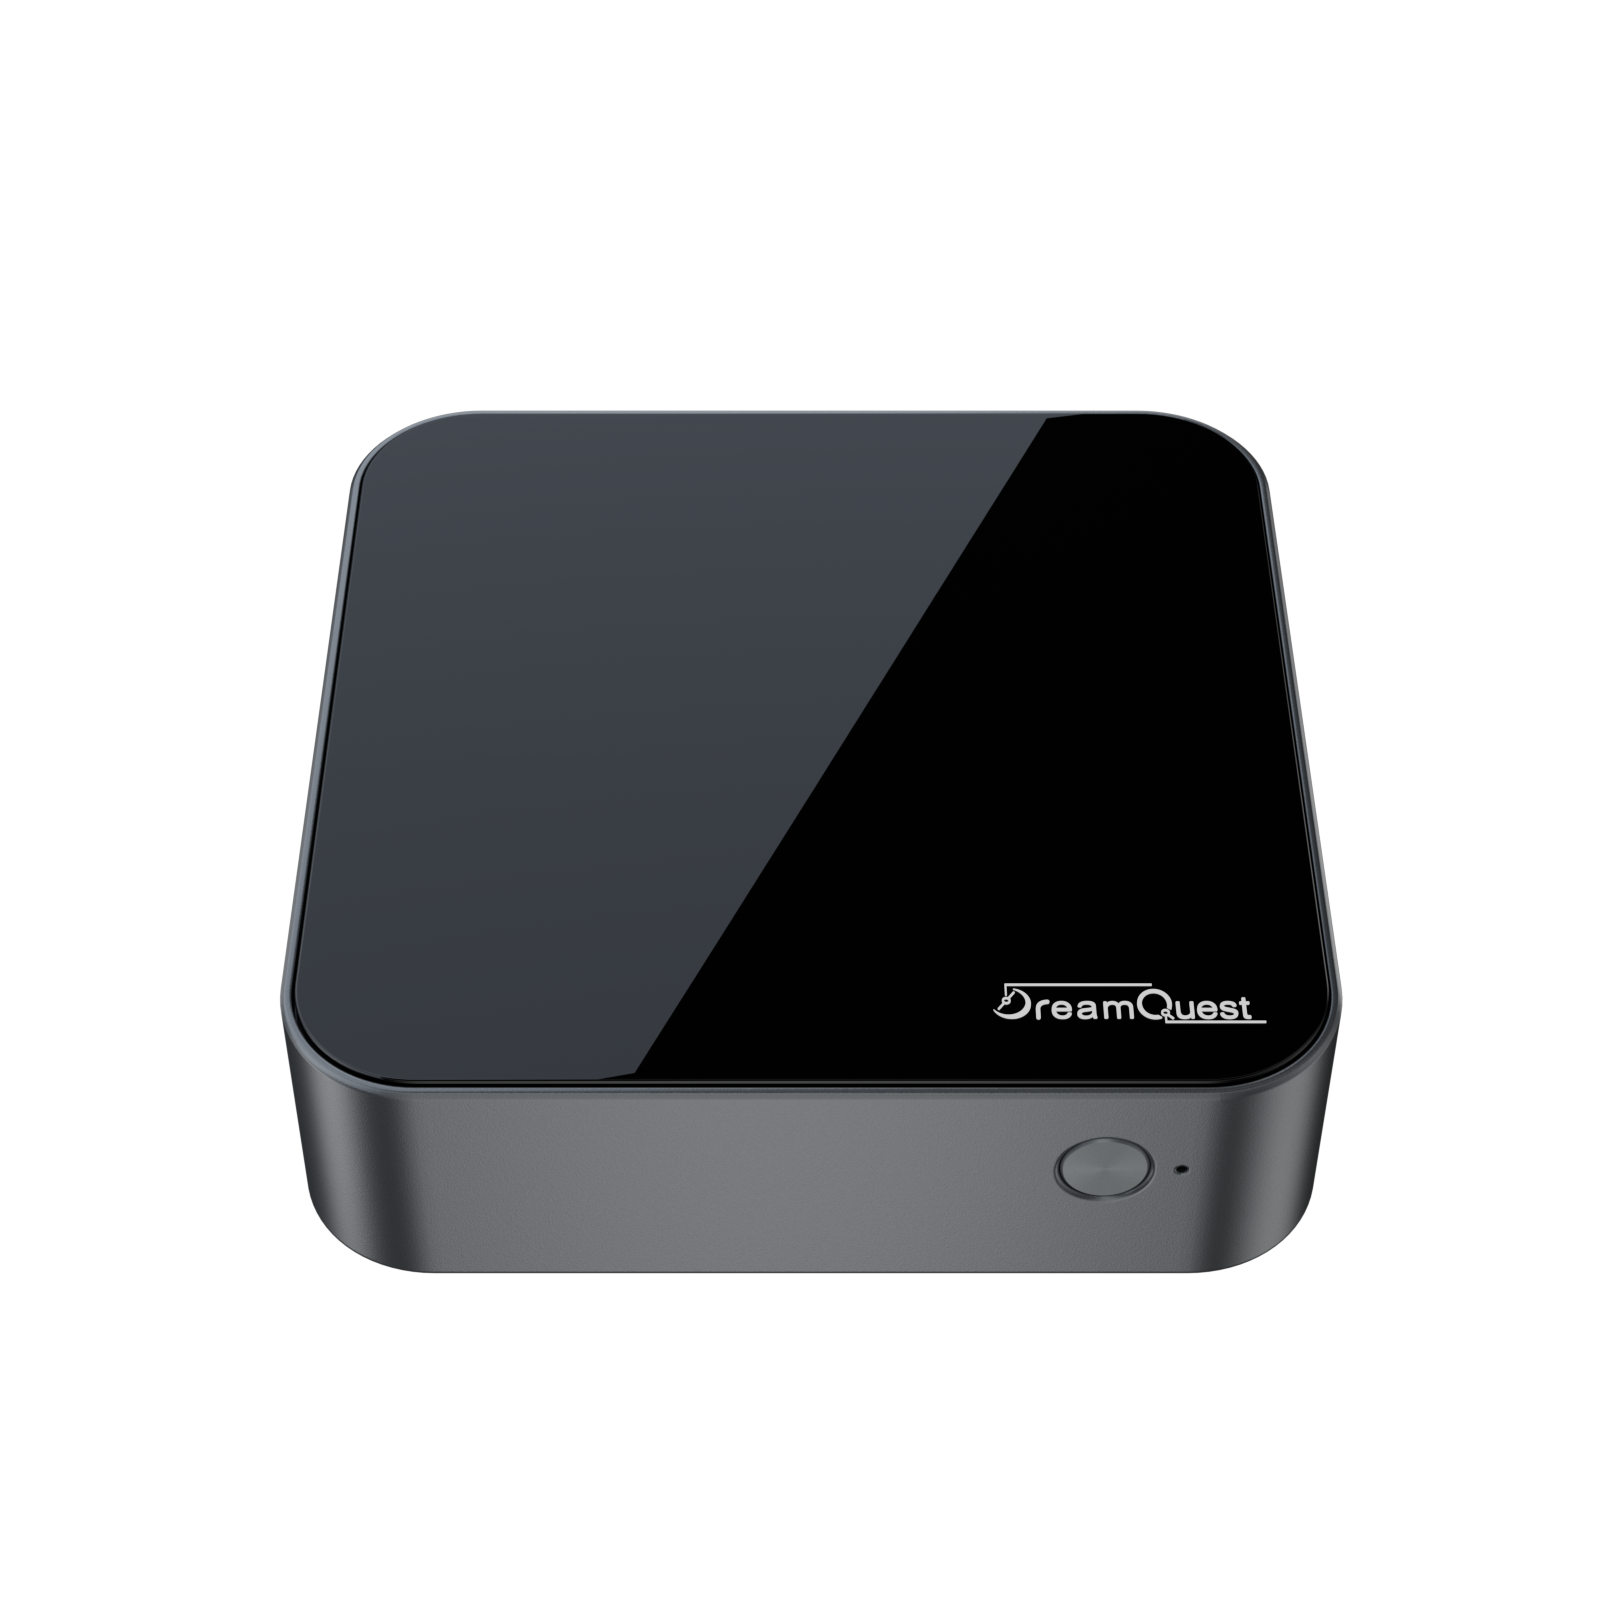
Setup DreamQuest 1.0 For End Users on the DreamQuest Mini PC
This guide will walk you through the initial configuration and setup of DreamQuest 1.0 on your DreamQuest Mini PC, ensuring a smooth and optimized experience for end users.
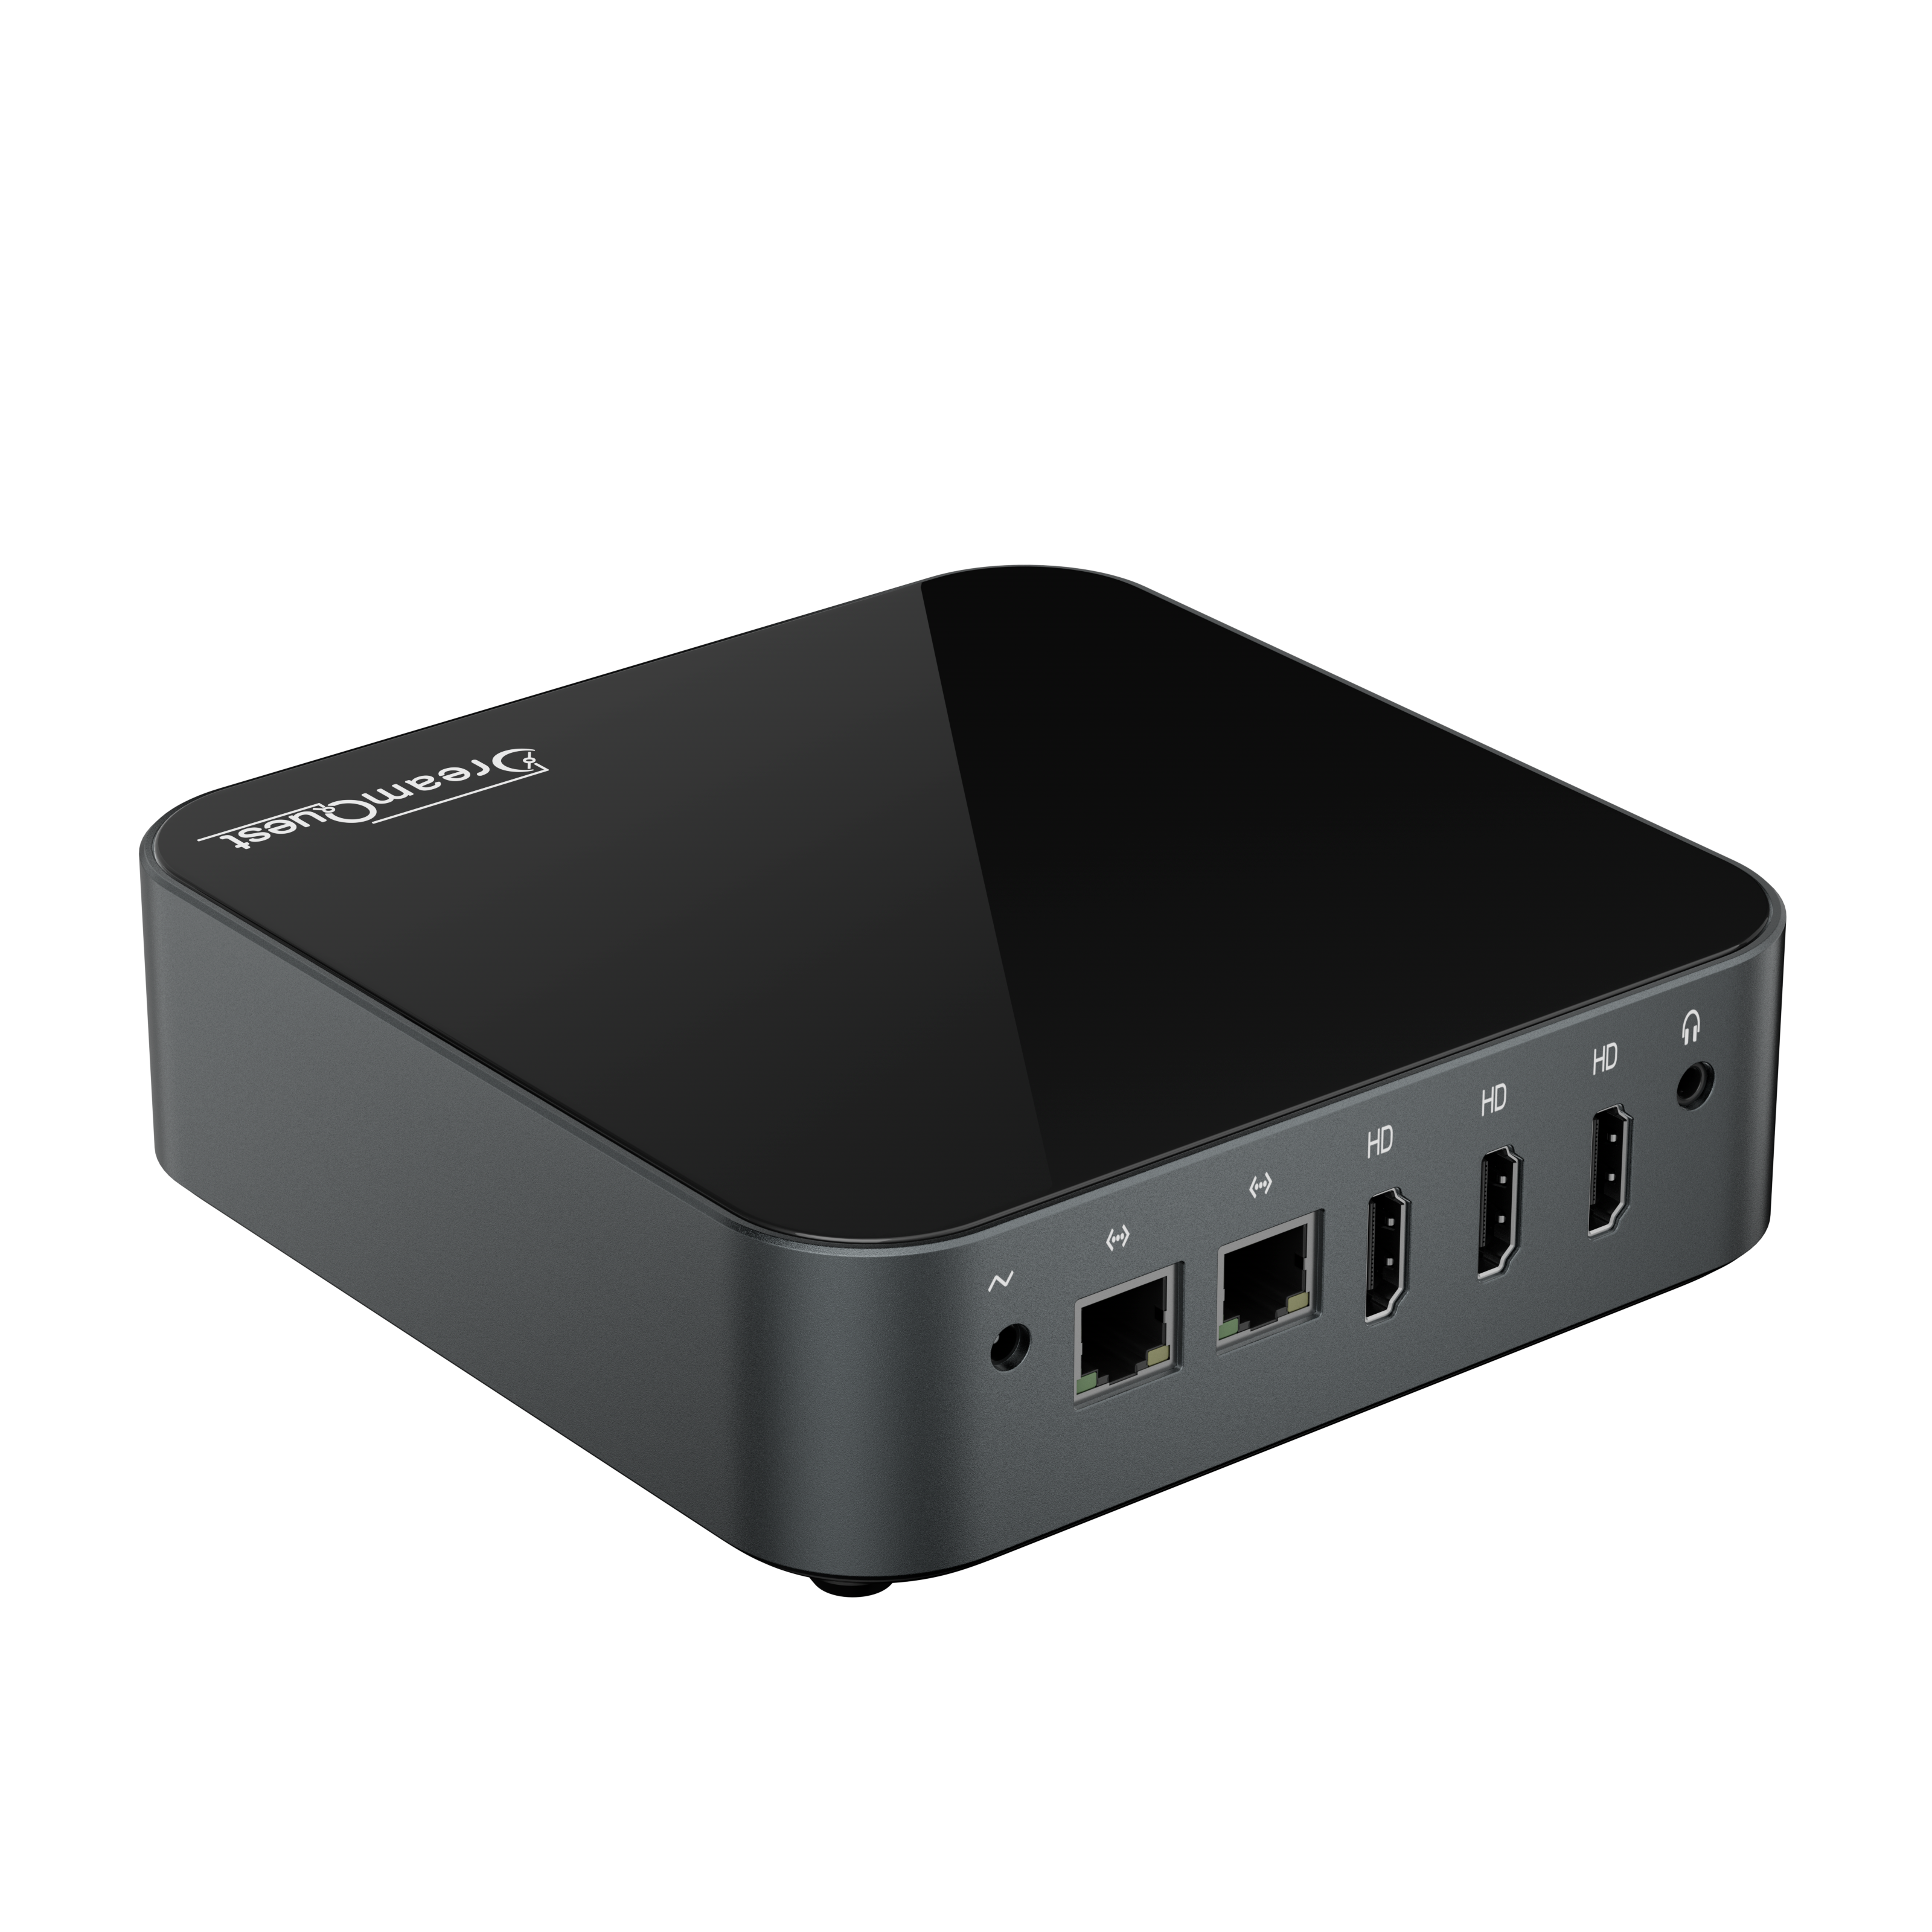
After powering on your Mini PC and logging in for the first time, you will be greeted with an intuitive setup wizard. This process will help you configure essential system settings, such as language, keyboard layout, user account, and network connectivity. You will also have the option to personalize your desktop environment, apply updates, and install additional software as needed.
DreamQuest 1.0 is designed for performance, stability, and ease of use, making it a great choice for both beginners and advanced users. Follow the on-screen instructions carefully to complete the setup process and start enjoying the full potential of your DreamQuest Mini PC
Press Enter. Login without password.