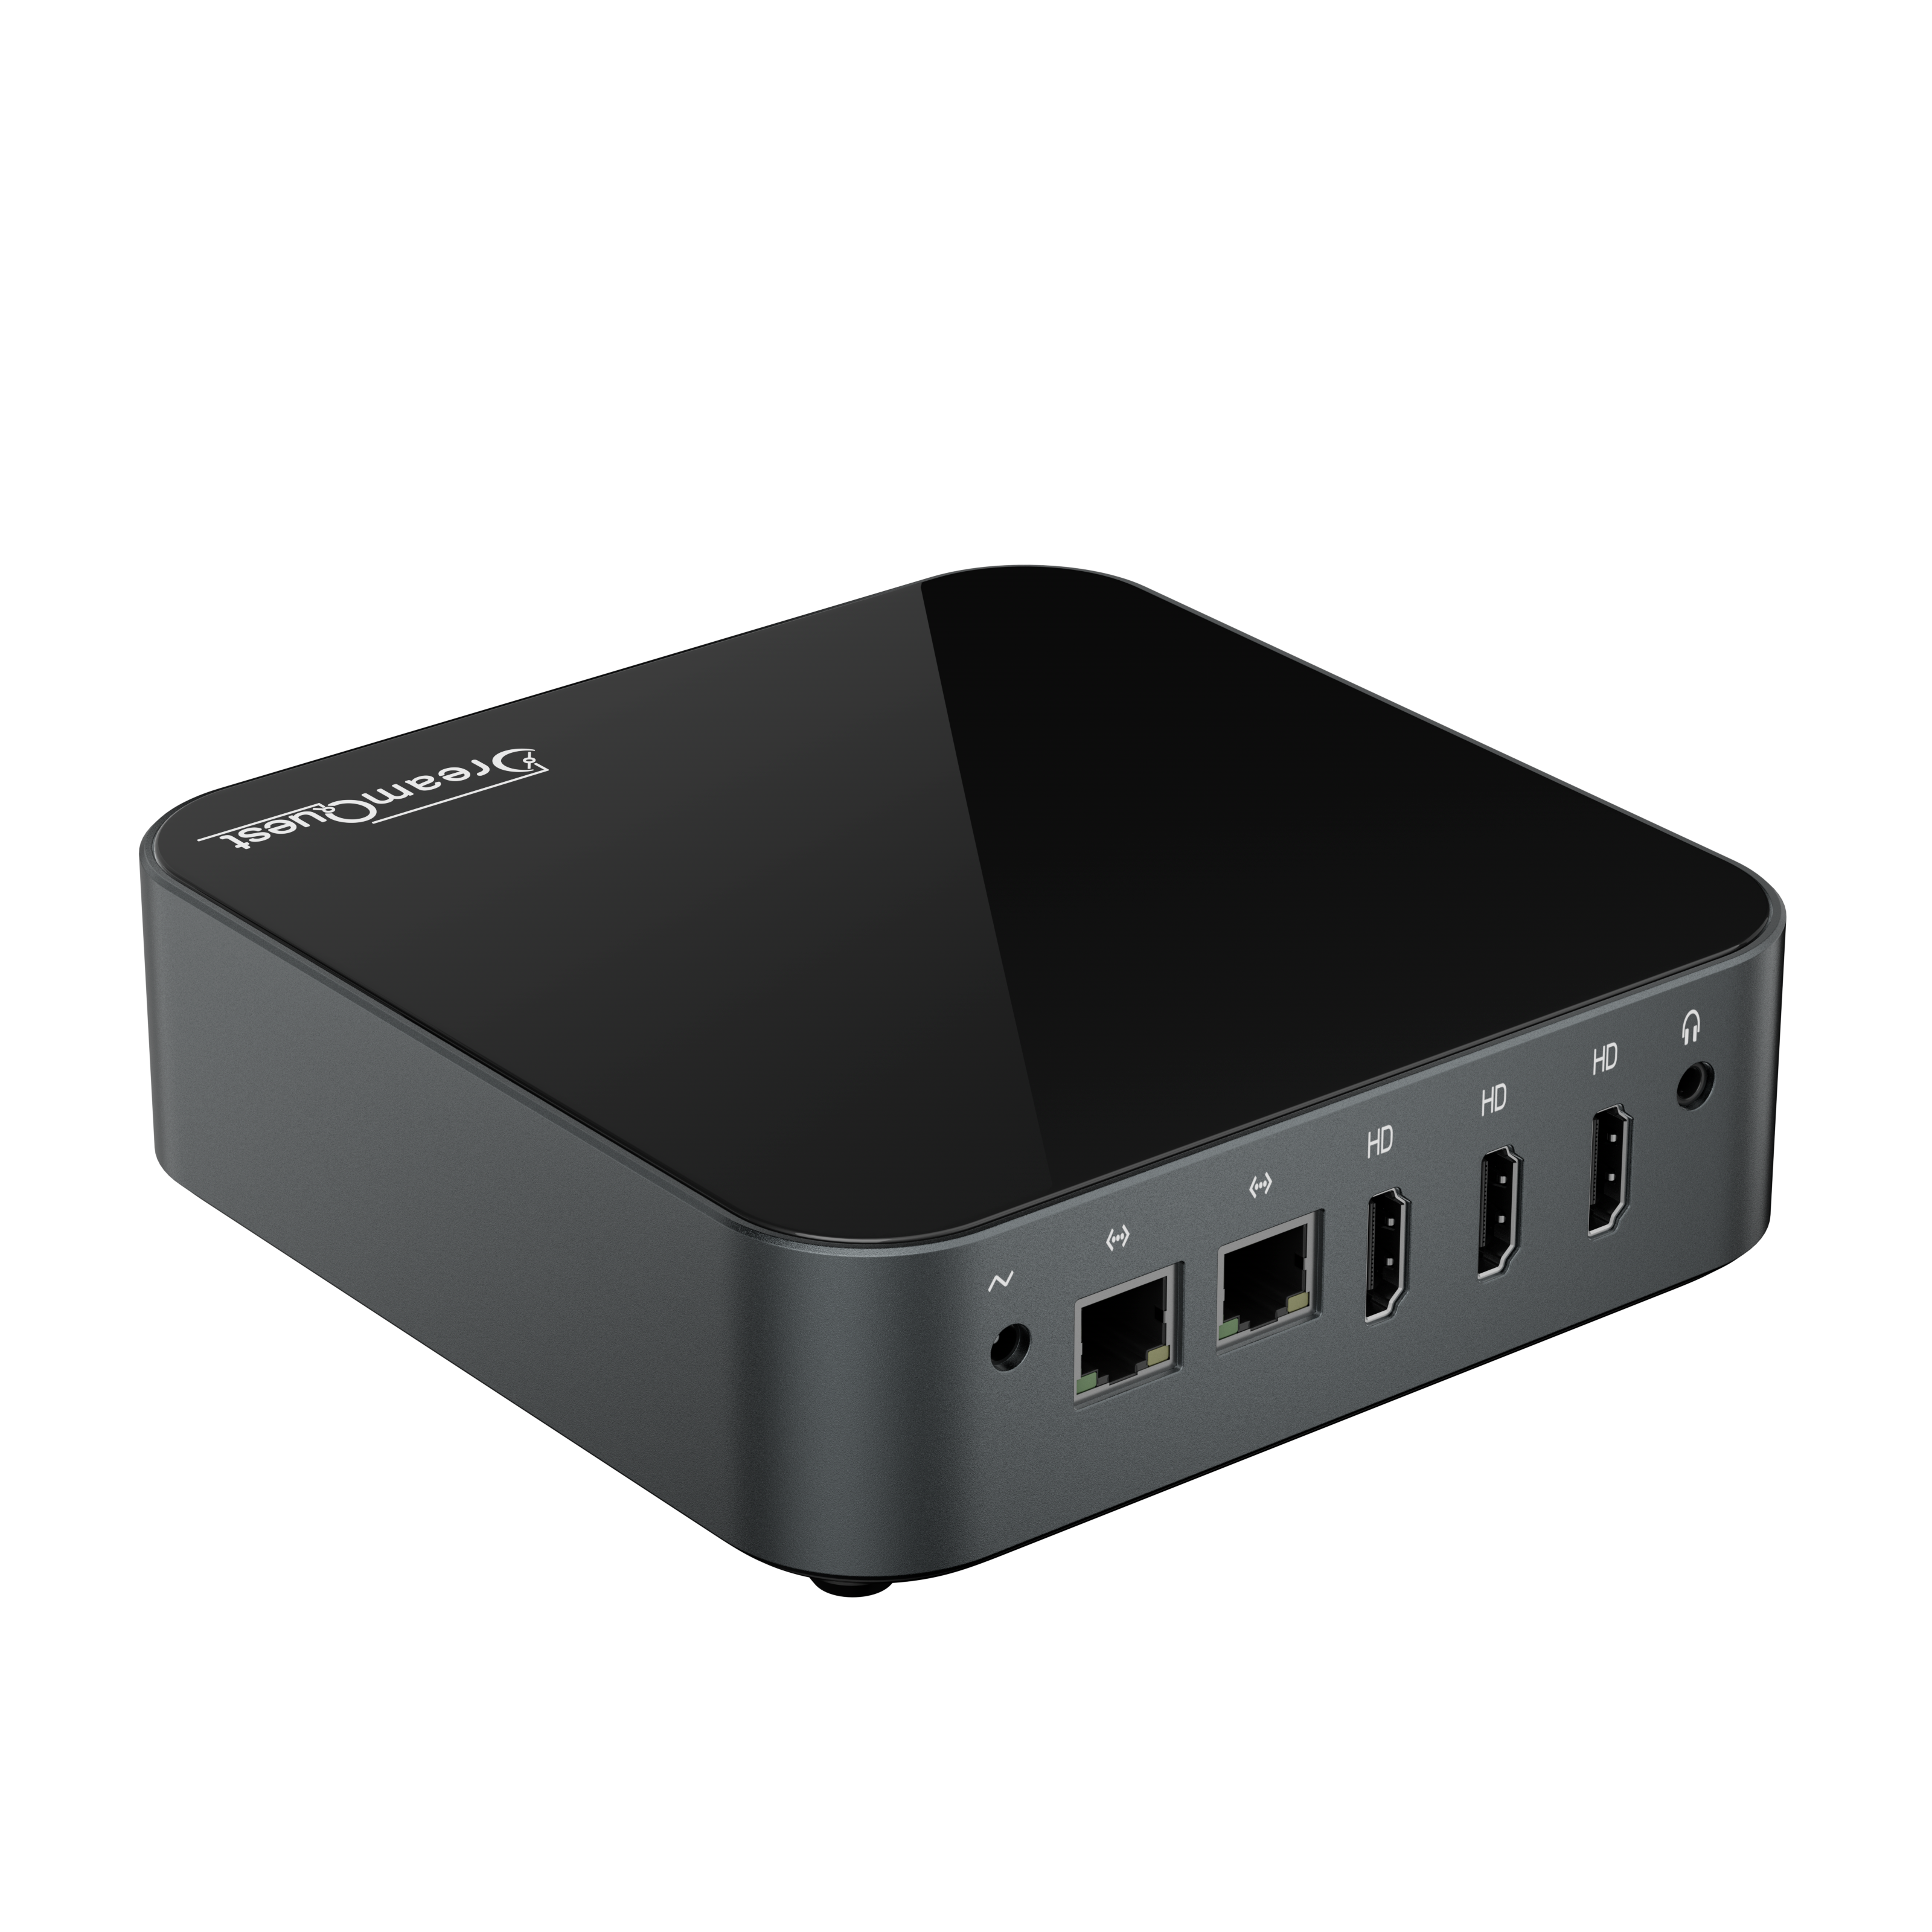
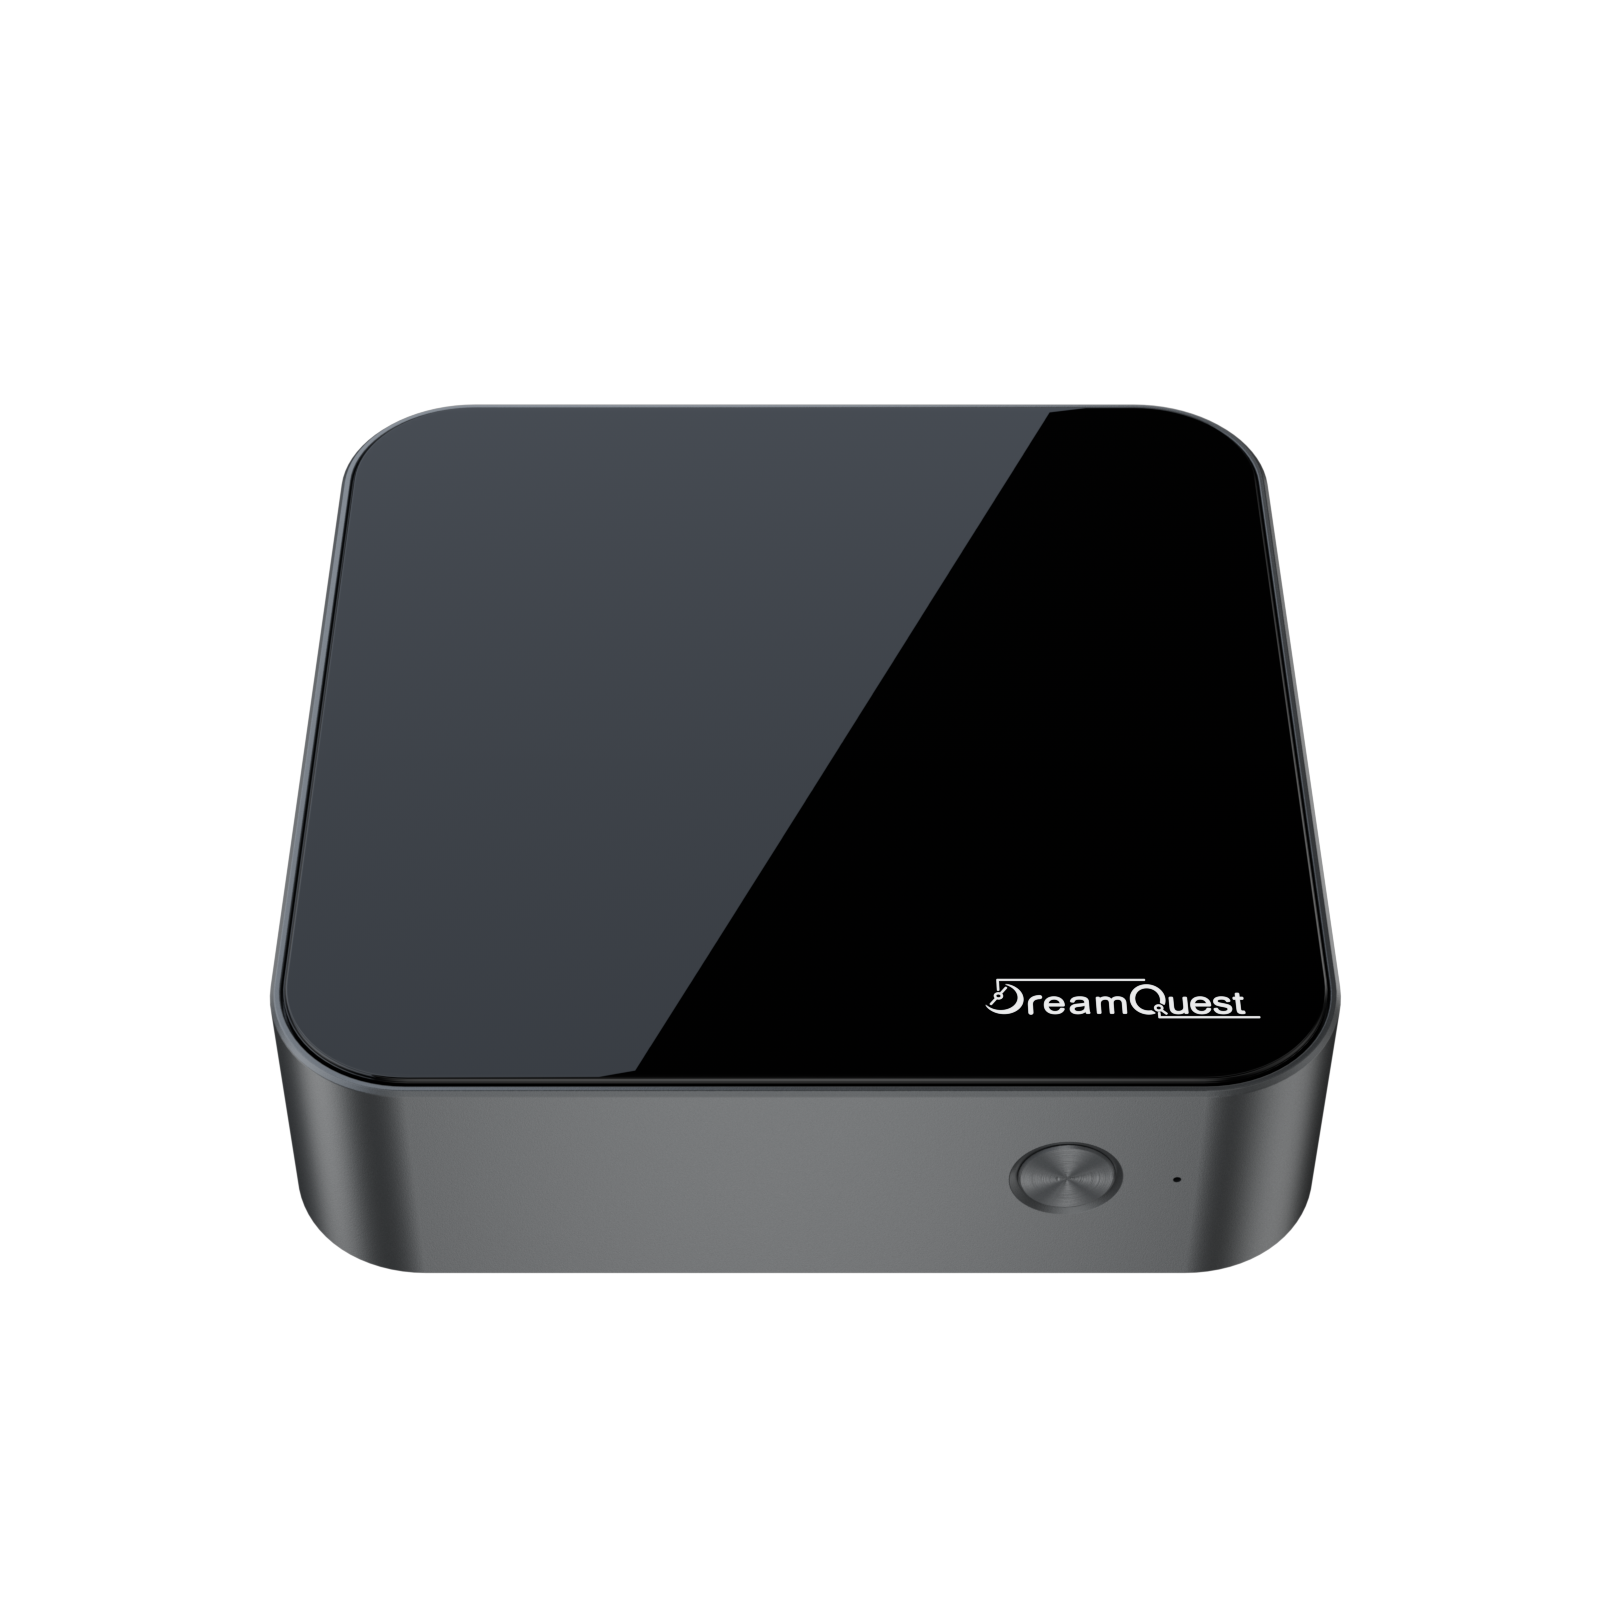
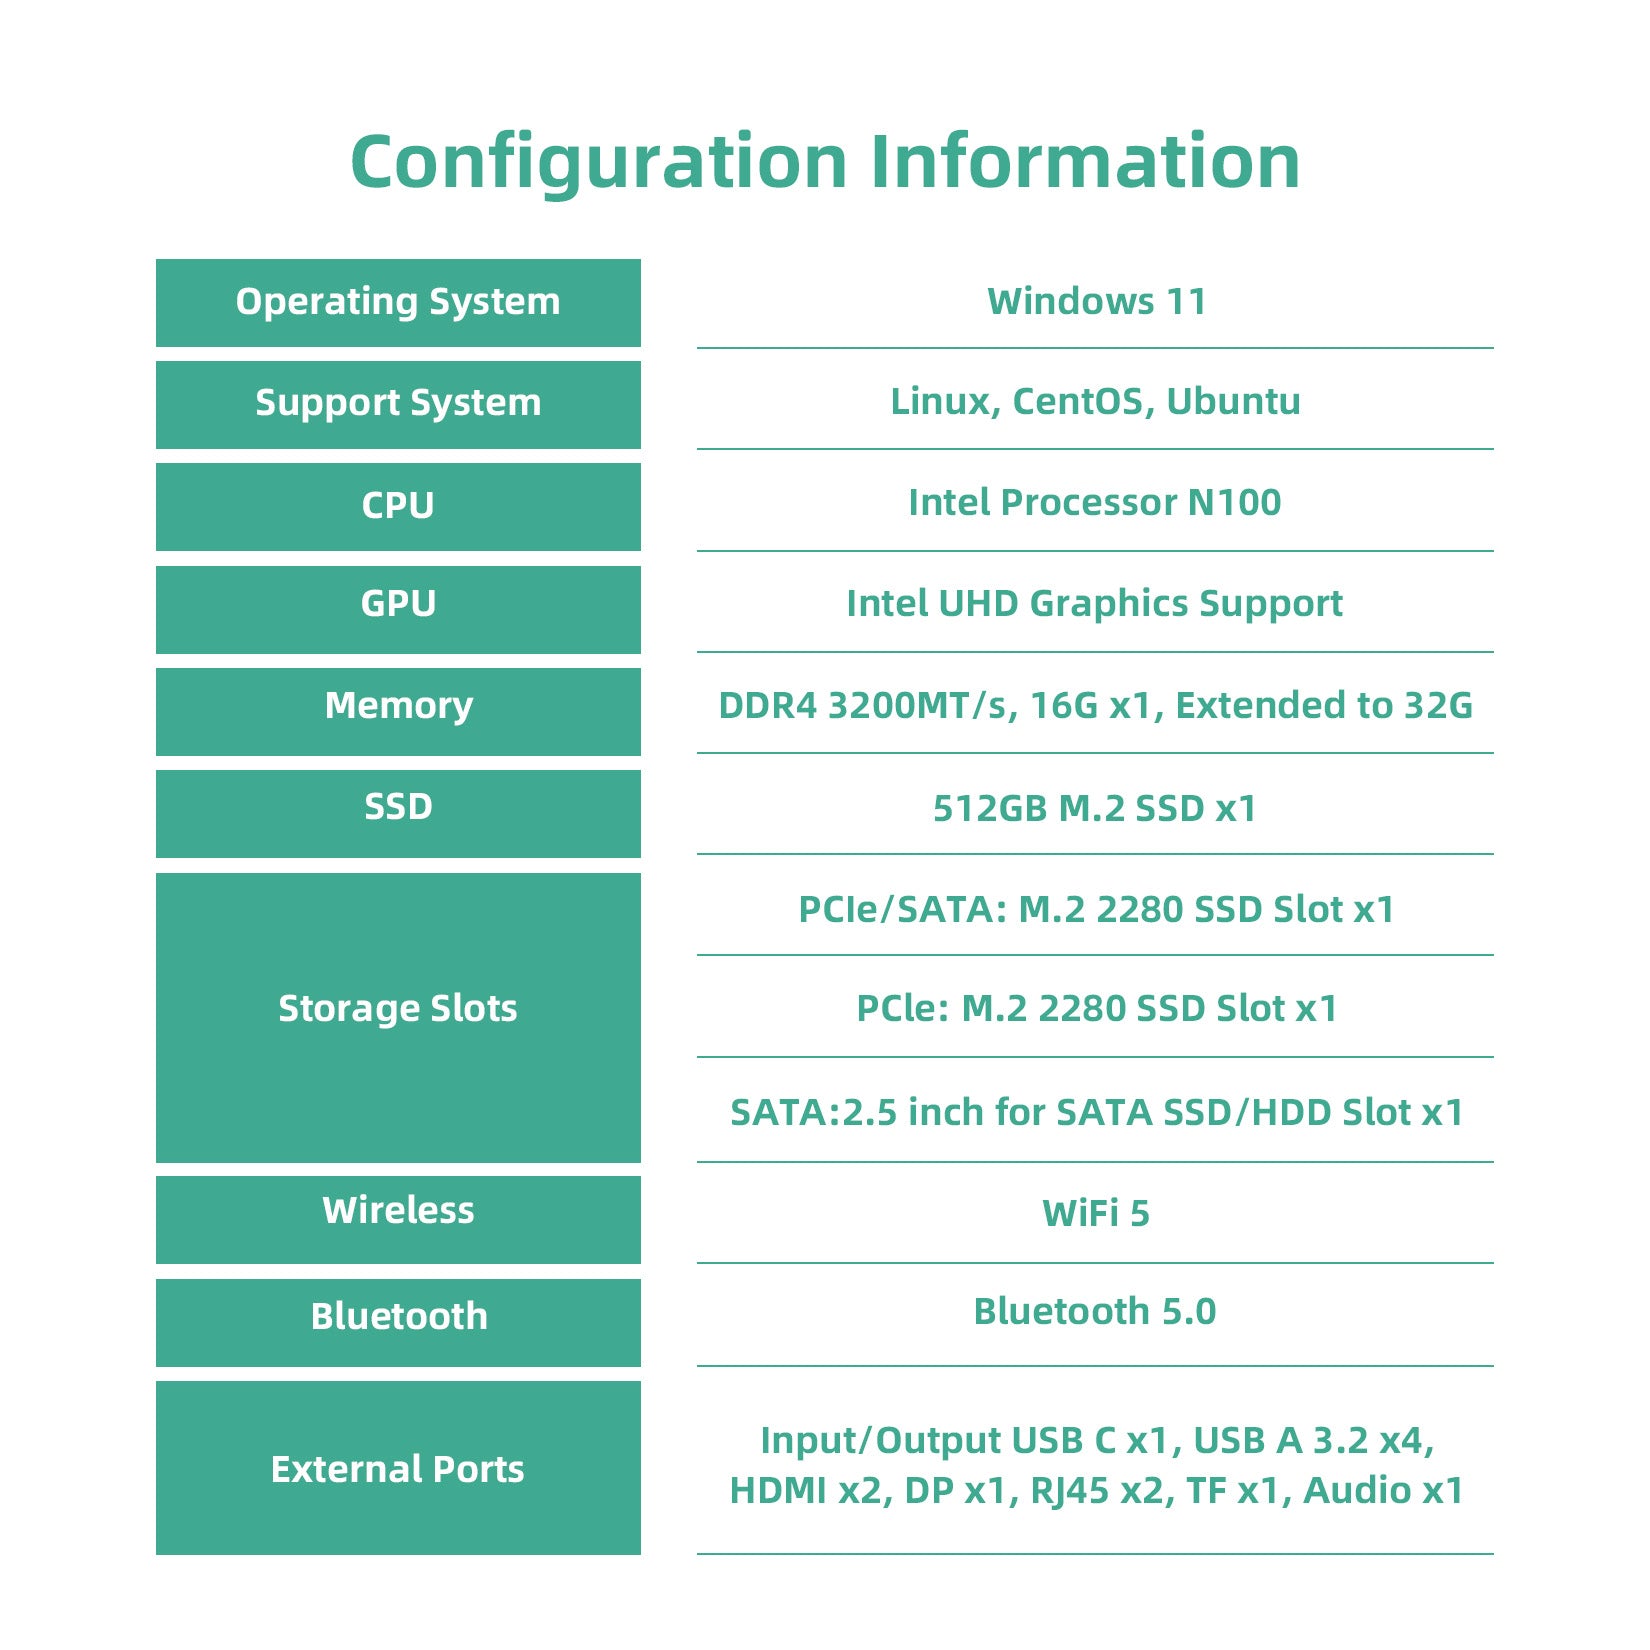
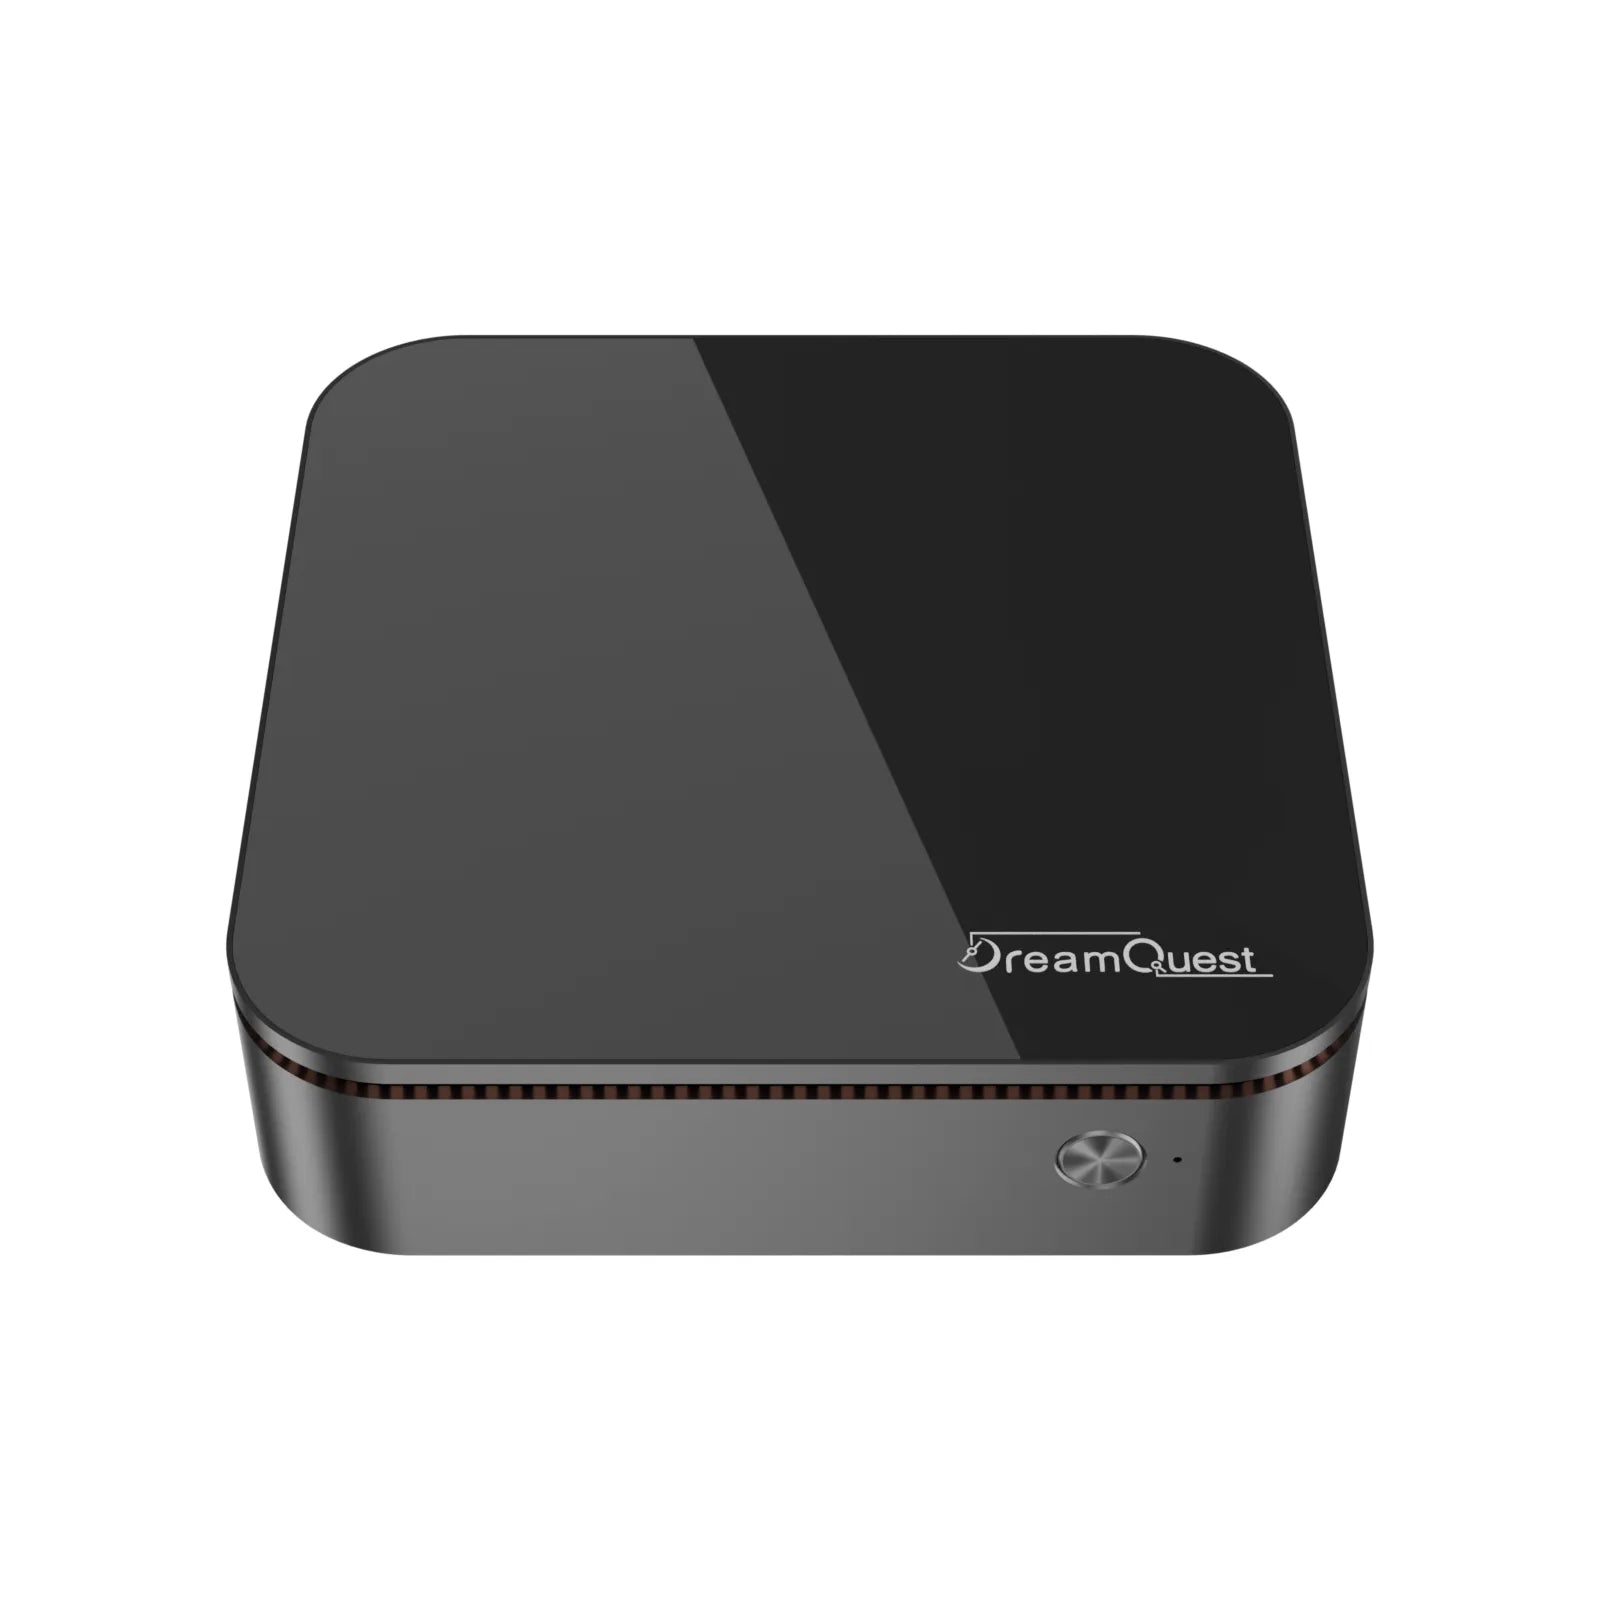
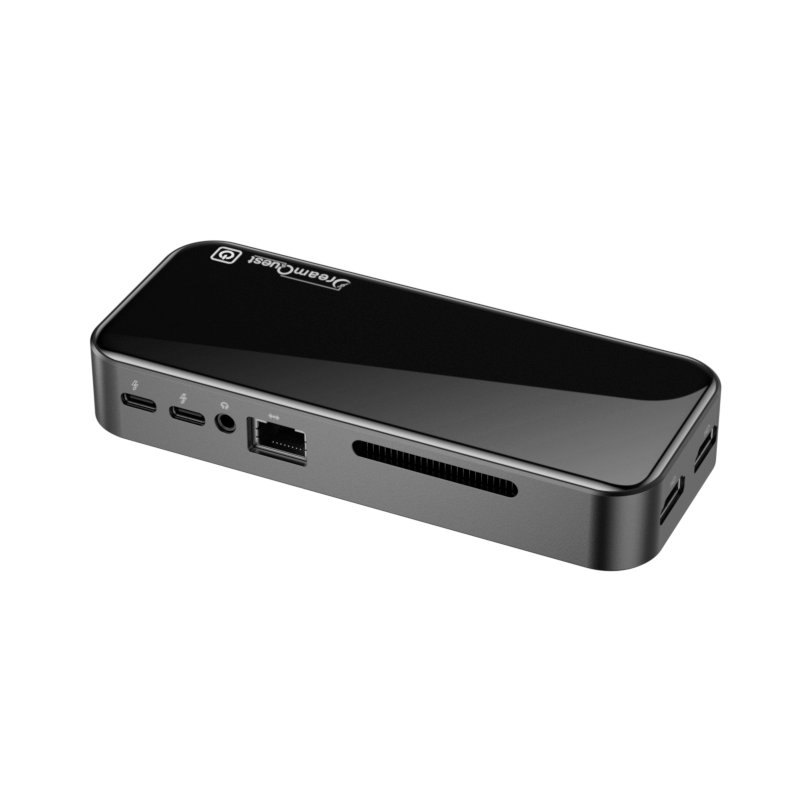
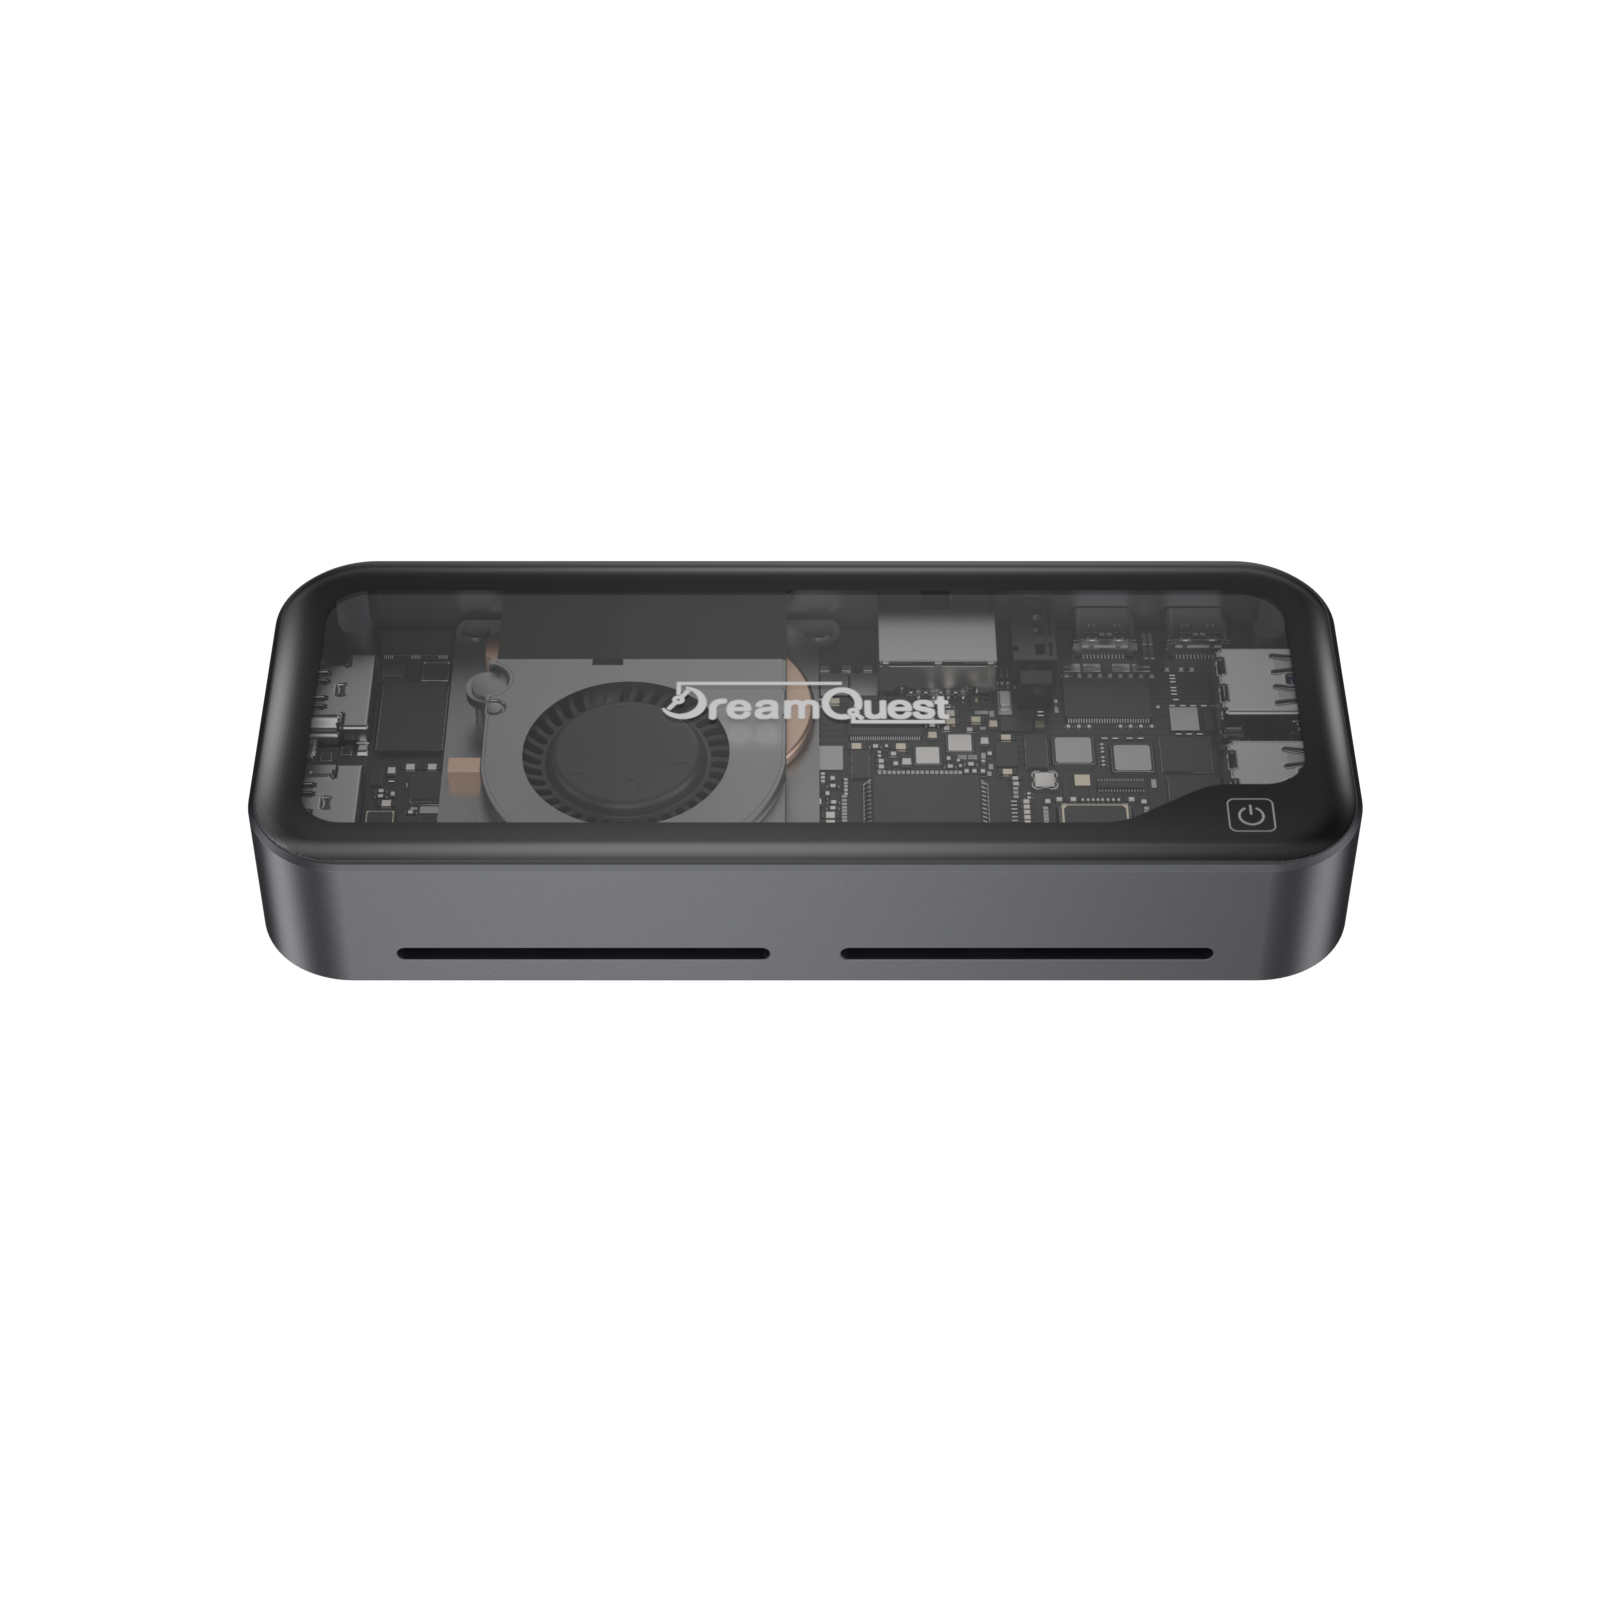
This guide will walk you through the normal installation of DreamQuest 1.0 (Aurora), from creating a bootable USB to completing the installation on your DreamQuest Mini PC or any compatible system.
🛠️ Requirements
✅ DreamQuest 1.0 ISO (Download the latest version)
✅ USB Flash Drive (at least 8GB)
✅ A PC or DreamQuest Mini PC
✅ Stable internet connection (optional, but recommended for updates)
Step 1: Create a Bootable USB Drive
Method 1: Using Balena Etcher (Windows/Linux/macOS - Recommended)
- Download and install Balena Etcher from https://www.balena.io/etcher/.
- Insert your USB flash drive (minimum 8GB).
- Open Balena Etcher and select:
- Flash from File → Choose the DreamQuest 1.0 ISO
- Select Target → Choose your USB flash drive
- Flash! → Start the process.
- Wait for the flashing process to complete.
Method 2: Using Rufus (Windows Only)
- Download and install Rufus from https://rufus.ie/.
- Insert your USB drive and launch Rufus.
- Set the following options:
- Device: Select your USB drive.
- Boot Selection: Choose DreamQuest 1.0 ISO.
- Partition Scheme: GPT (For UEFI) or MBR (For Legacy BIOS).
- File System: FAT32.
- Click Start and wait for it to finish.
Method 3: Using dd (Linux Terminal)
Identify your USB drive using:


